Running an Ansible Tower Job from a Button
In the previous chapter we saw how how to integrate Ansible into our Automate workflows. In this chapter we’ll look at how we run an Ansible job templates from a button, with no Ruby coding involved.
Ansible Tower Preparation
We must do some initial preparation on our Ansible Tower server, to create inventory and machine credentials, and then to define a dynamic inventory that is populated from our CloudForms appliance. Once these are prepared we can install the project, and create the job template.
Inventory Credential
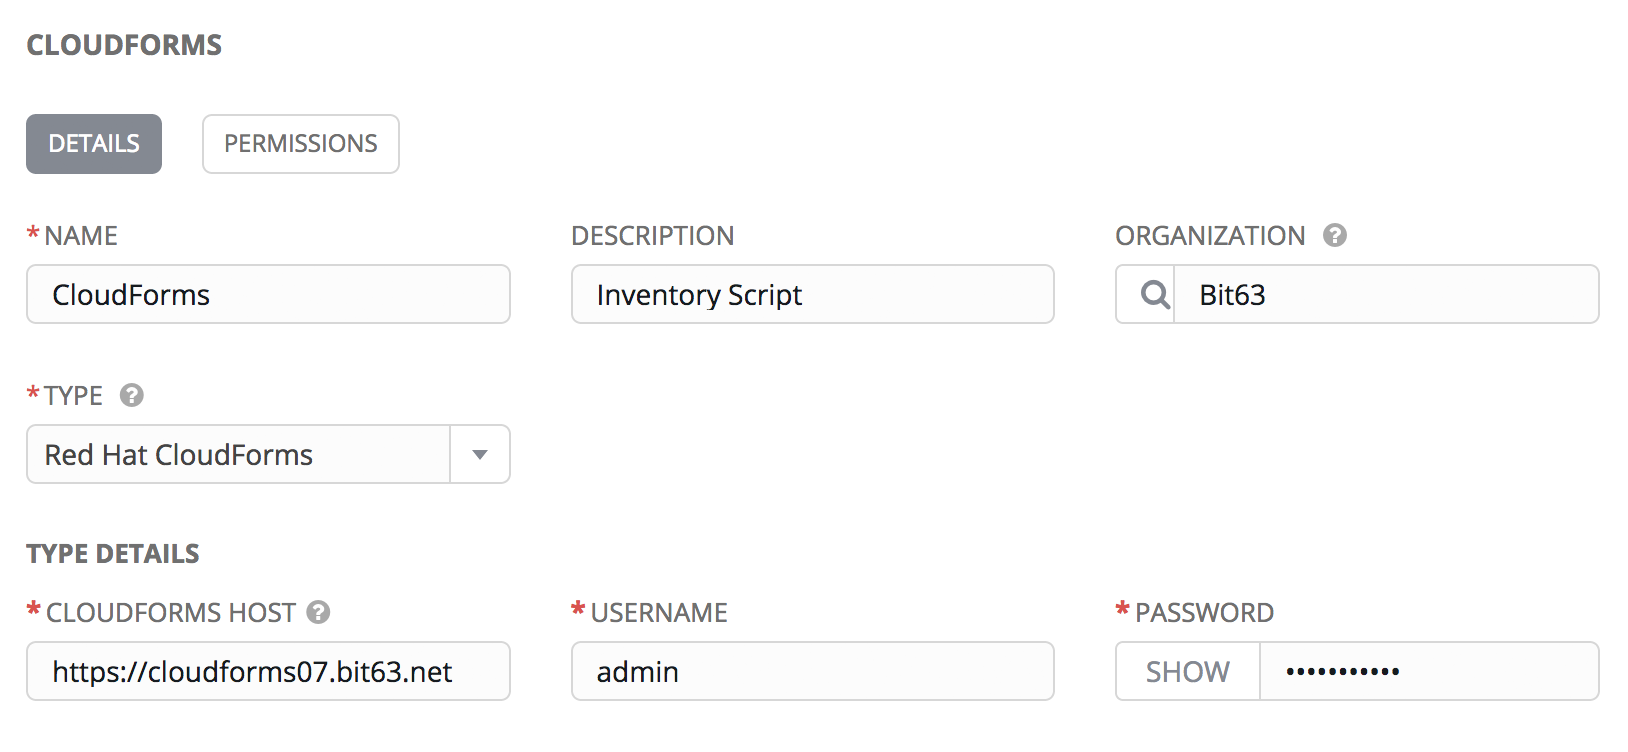
On our Ansible Tower server, we’ll create a Red Hat CloudForms credential that enables us to synchronize inventory from our CloudForms or ManageIQ appliance (see Inventory credential). We’ll use this to ensure that the Tower inventory is up-to-date before any job template is run.
Figure 1. Inventory credential
Machine Credential
We’ll also create a Machine credential called SSH Key (ansible-remote) that allows key-based ssh connection to a managed host as the ansible-remote user, and allows for sudo privileged escalation as the root user.
Inventory
We’ll create a Tower inventory called CloudForms VMs to hold the list of virtual machines that are visible to CloudForms. We’ll add a group to this called All Servers, that uses our CloudForms credential to populate itself. We must also ensure that this group is marked as Overwrite and Update on Launch (see Inventory group).
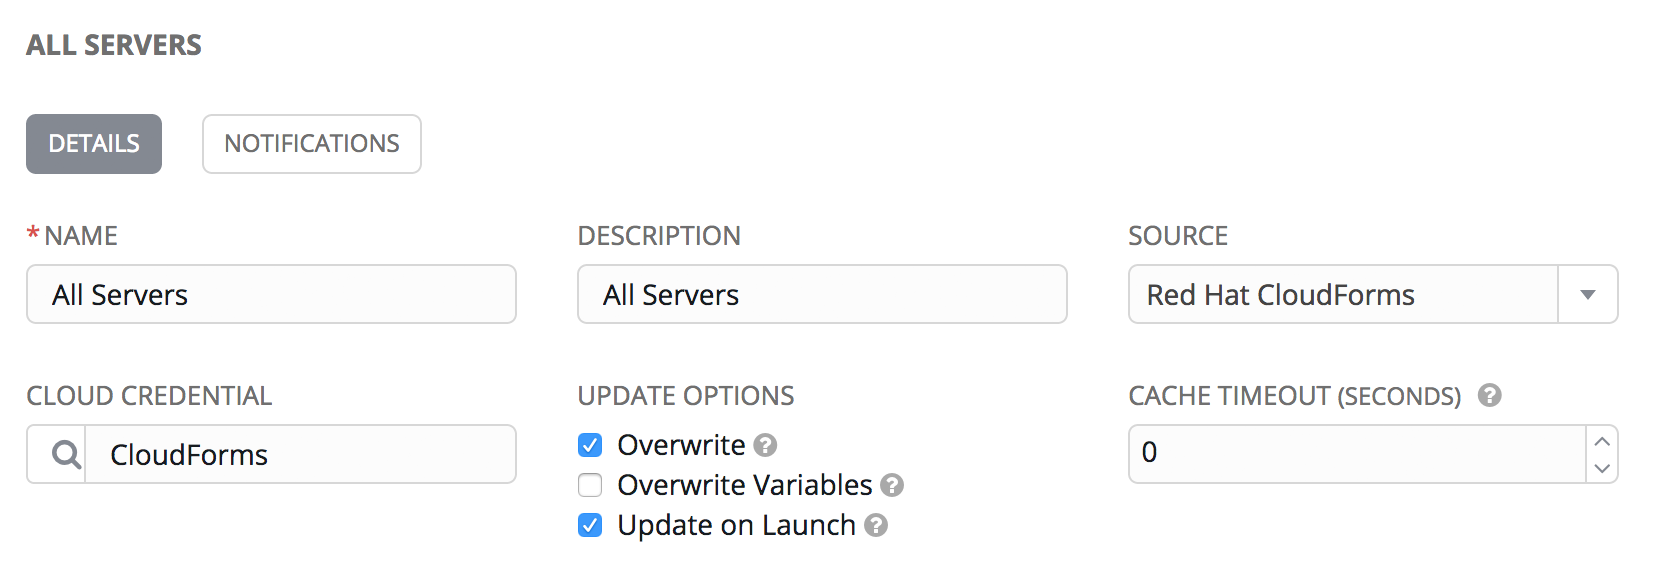
Figure 2. Inventory group
Installing the Project and Creating the Job Template
Once we’ve setup the credentials and inventory, we’re ready create our project, and create a job template from one of the roles.
Project
Well create a new Git project from the https://github.com/pemcg/ansible_roles repository (master branch).
Job Template
From this new project we’ll create a job template called Simple LAMP Stack. It will be a Run job type; use the CloudForms VMs inventory and SSH Key (ansible-remote) machine credential that we defined previously, and will execute the lamp_simple.yaml project playbook (see Job template).
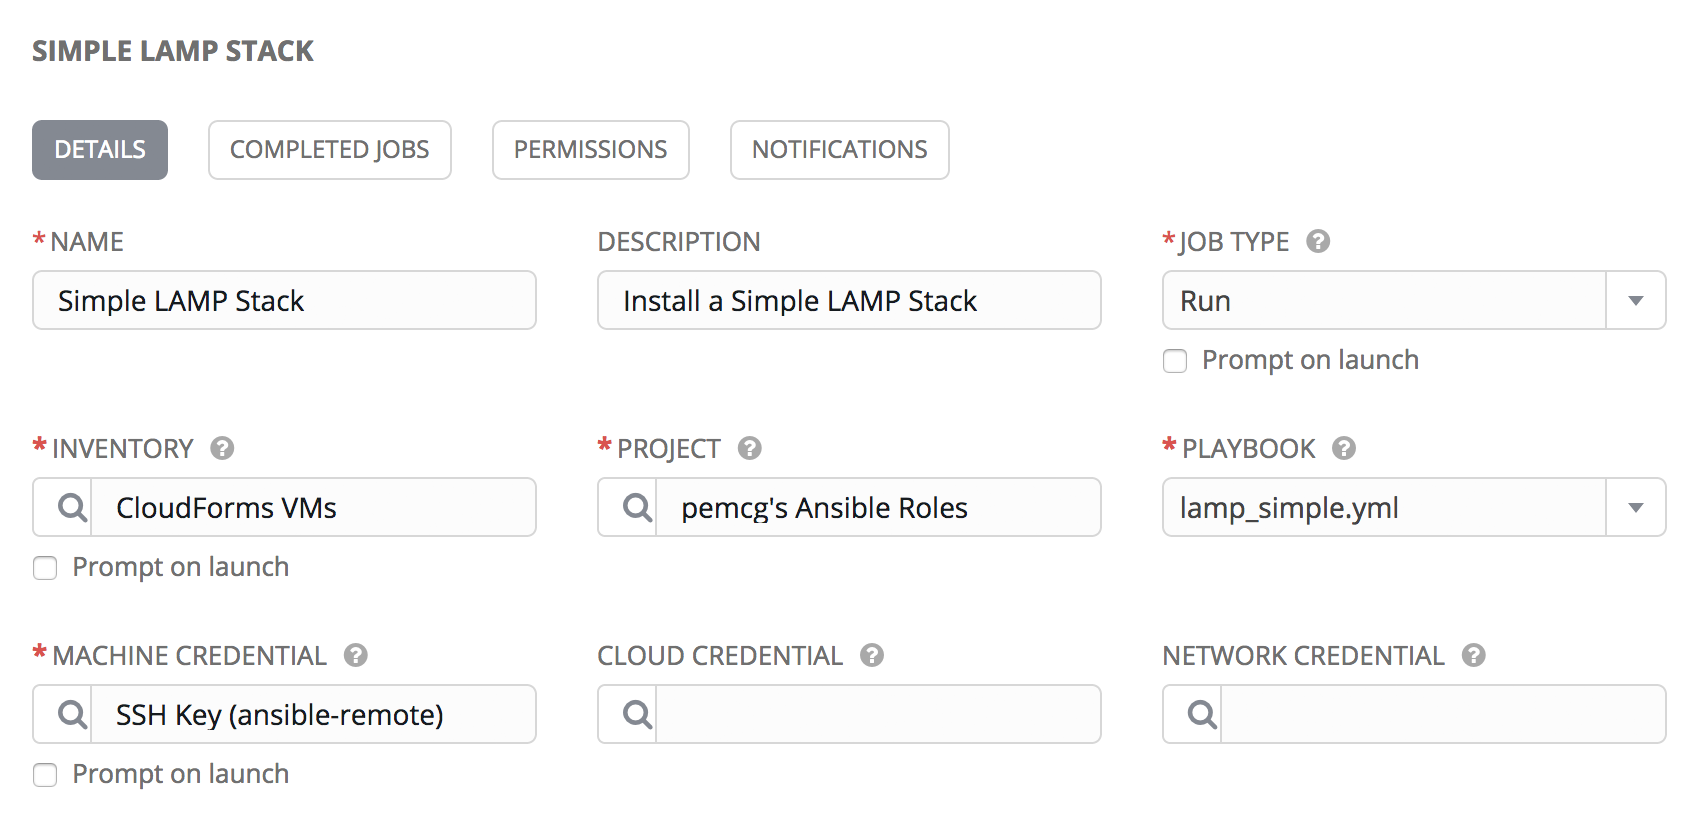
Figure 3. Job template
As several of the playbook commands require root privileges, we must ensure that Enable Privilege Escalation is checked (see Enabling privilege escalation).
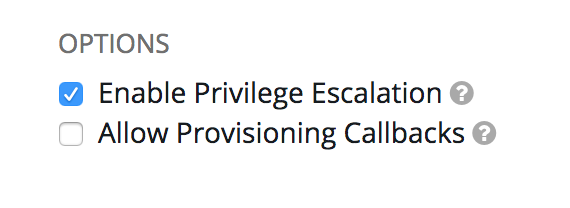
Figure 4. Enabling privilege escalation
We’ll define some defaults for the extra variables that will be passed to the playbook:
-
ntpserver (NTP server IP address)
-
mysql_port (port to be used by MariaDB)
-
dbname (initial database name)
-
dbuser (initial database username)
-
dbpass (password for initial database user)
-
http_port (HTTP port to be used by Apache)
-
repository (Git repository URL to pre-load site from)
We must also ensure that Prompt on Launch is checked, to allow the variables to be overridden from CloudForms/ManageIQ if we wish (see Default extra variables).
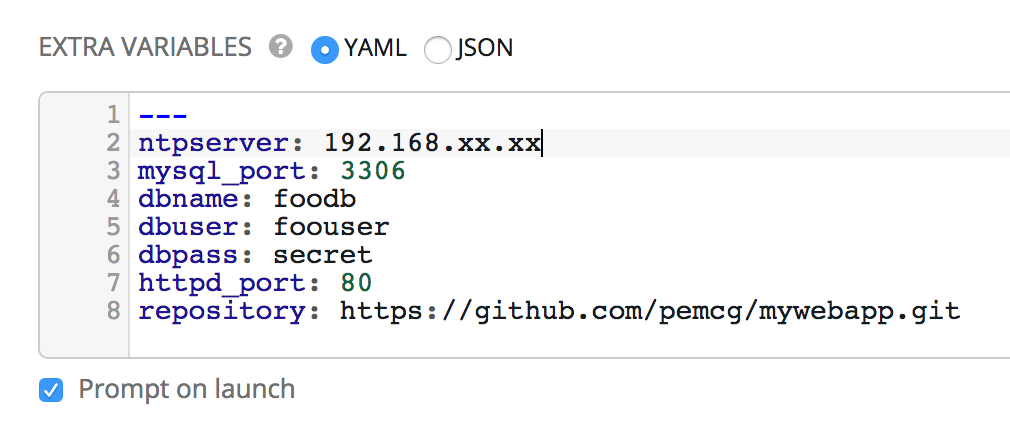
Figure 5. Default extra variables
CloudForms/ManageIQ Preparation
We have much less preparation to do on our CloudForms or ManageIQ appliance. We just need to import the service dialog, and add the button.
Service Dialog and Button
When we created the job template in Tower, the Ansible provider automatically refreshed the list of available job templates in the CloudForms/ManageIQ WebUI, along with the default extra variables defined for each. We can can select any of these job templates, and automatically create a service dialog from it.
For our example we select the Simple LAMP Stack job template, then select Configuration → Create Service Dialog from this Job Template (see Simple LAMP Stack Job template in CloudForms).
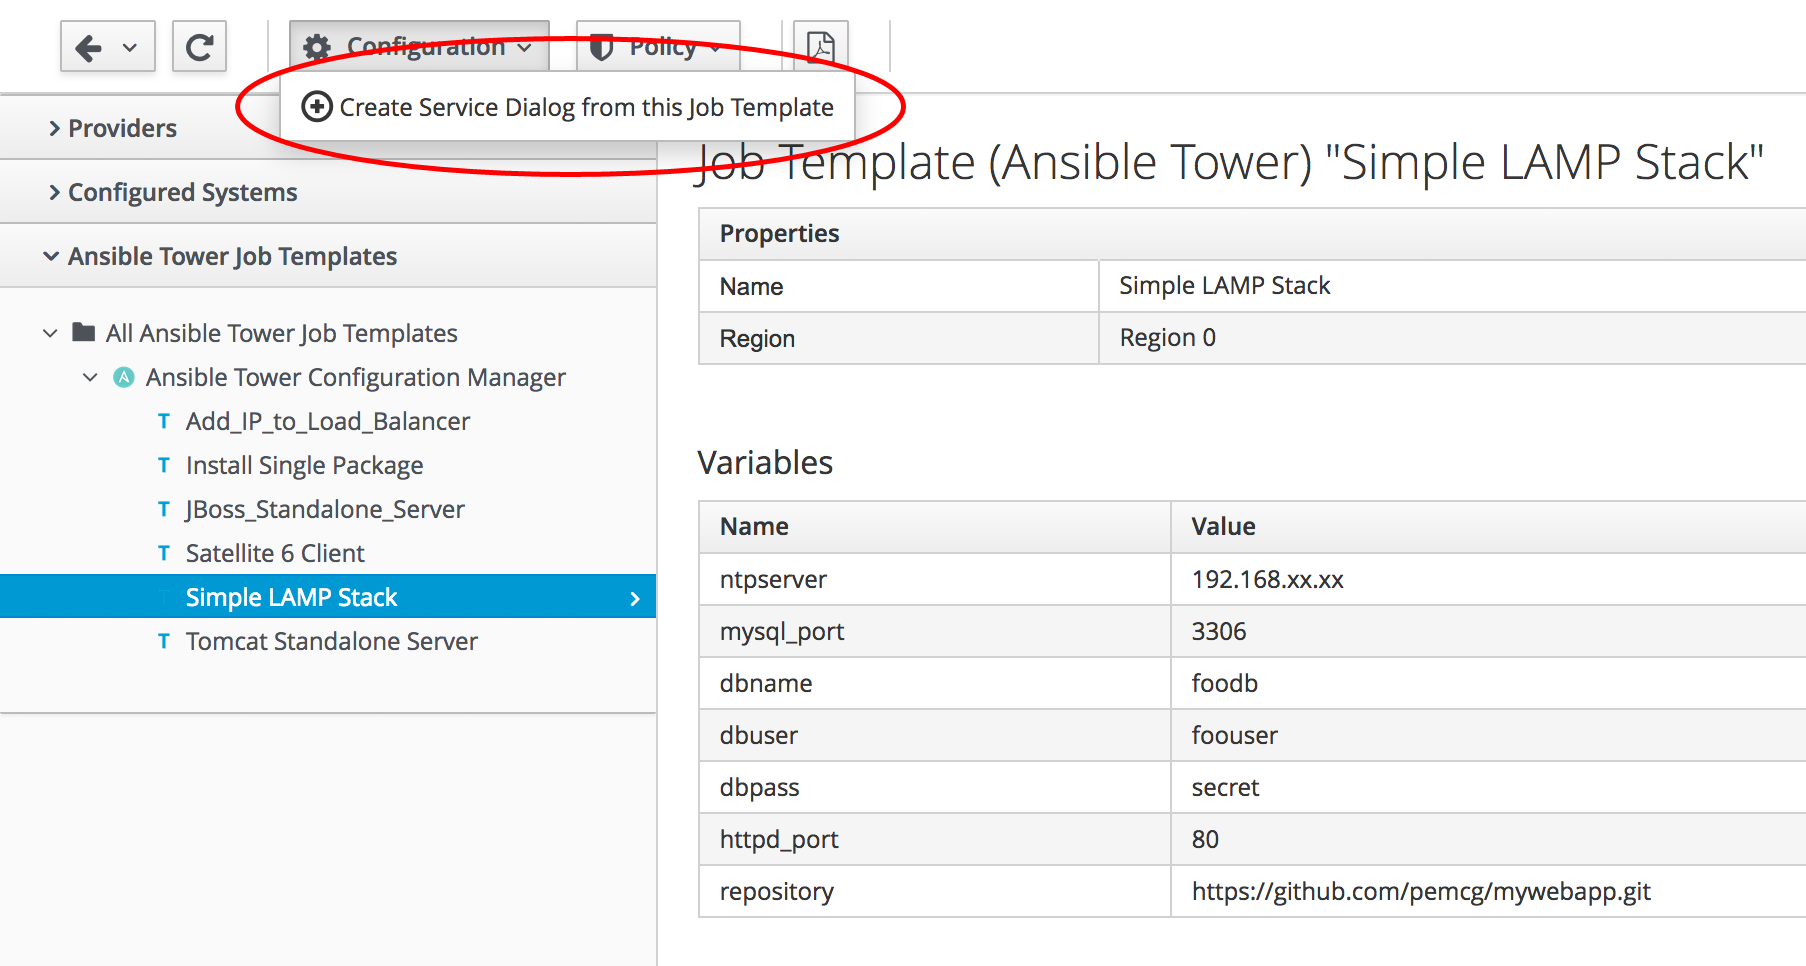
Figure 6. Simple LAMP Stack Job template in CloudForms
We’ll give the new service dialog the name "Simple LAMP Stack" so that we can identify it as coming from the job template. We need to make some minor changes to the dialog, so we navigate to Automate → Customization in the WebUI, find the newly created dialog in the Service Dialogs section of the accordion, and click Configuration → Edit this Dialog. We can delete the Options box and its Limit element as we don’t need to manually specify these when we call an Ansible job template from a button. We’ll also edit each element to deselect the 'Read only' checkbox (see Edited service dialog).
|
Note
|
Notice that the service dialog element names are created by default with the "param_" prefix, so that they can be recognised as extra variables by the launch_ansible_job method that we discussed in Tower Related Automate Components. |
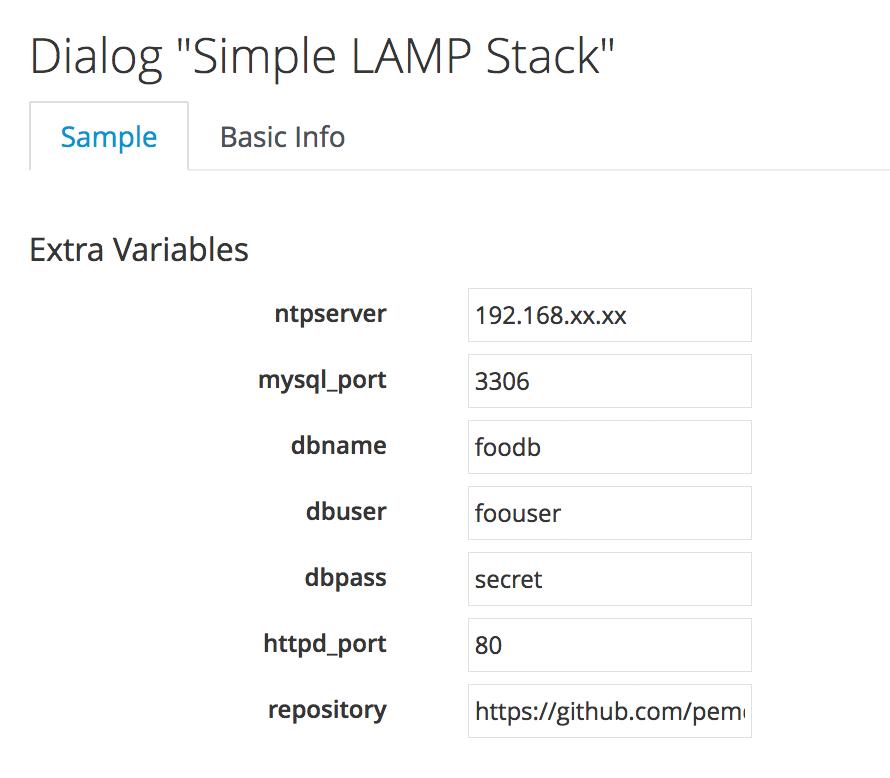
Figure 7. Edited service dialog
Having created the dialog, we can add a button to our VM button group if we wish. Our button will use the new "Simple LAMP Stack" dialog, and will call the ansible_tower_job instance, as shown in Adding the button.
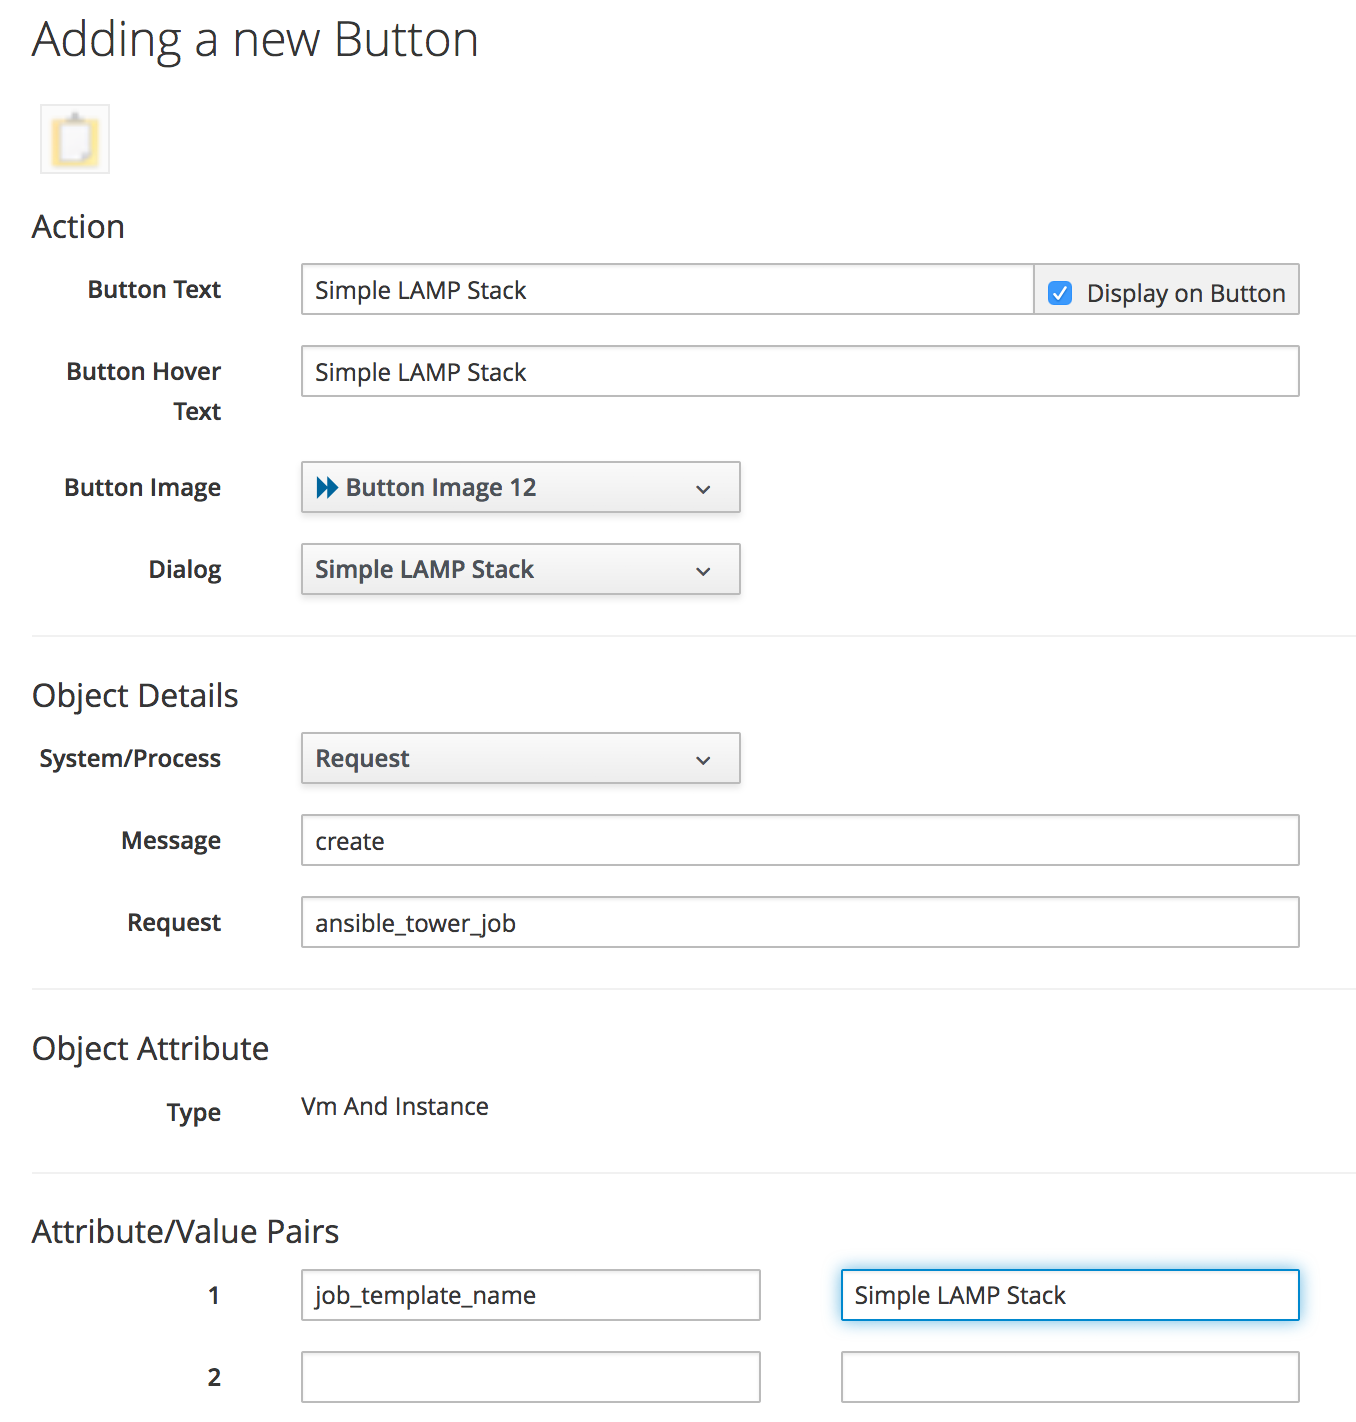
Figure 8. Adding the button
Ordering the LAMP Stack from the Button
We’re ready to test the operation of the Ansible playbook, called by CloudForms/ManageIQ. We’ll select a suitable CentOS 7 VM that has been configured with the ansible-remote user and ssh key, and order from the Simple LAMP Stack button (see Adding the button).
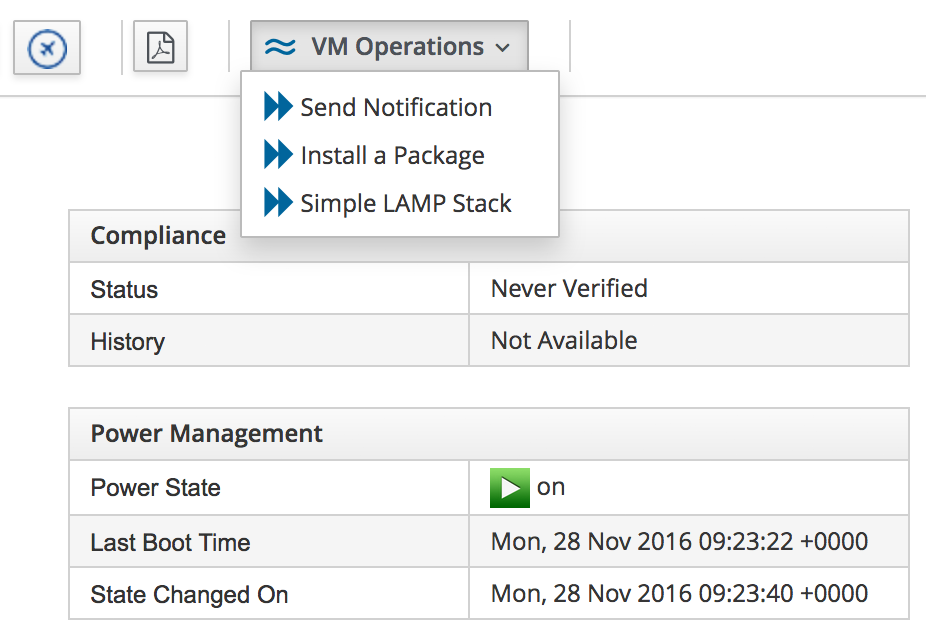
Figure 9. Adding the button
We fill in the dialog parameters; in this case we’ll override the default values for ntpserver and dbname (see Ordering the button).
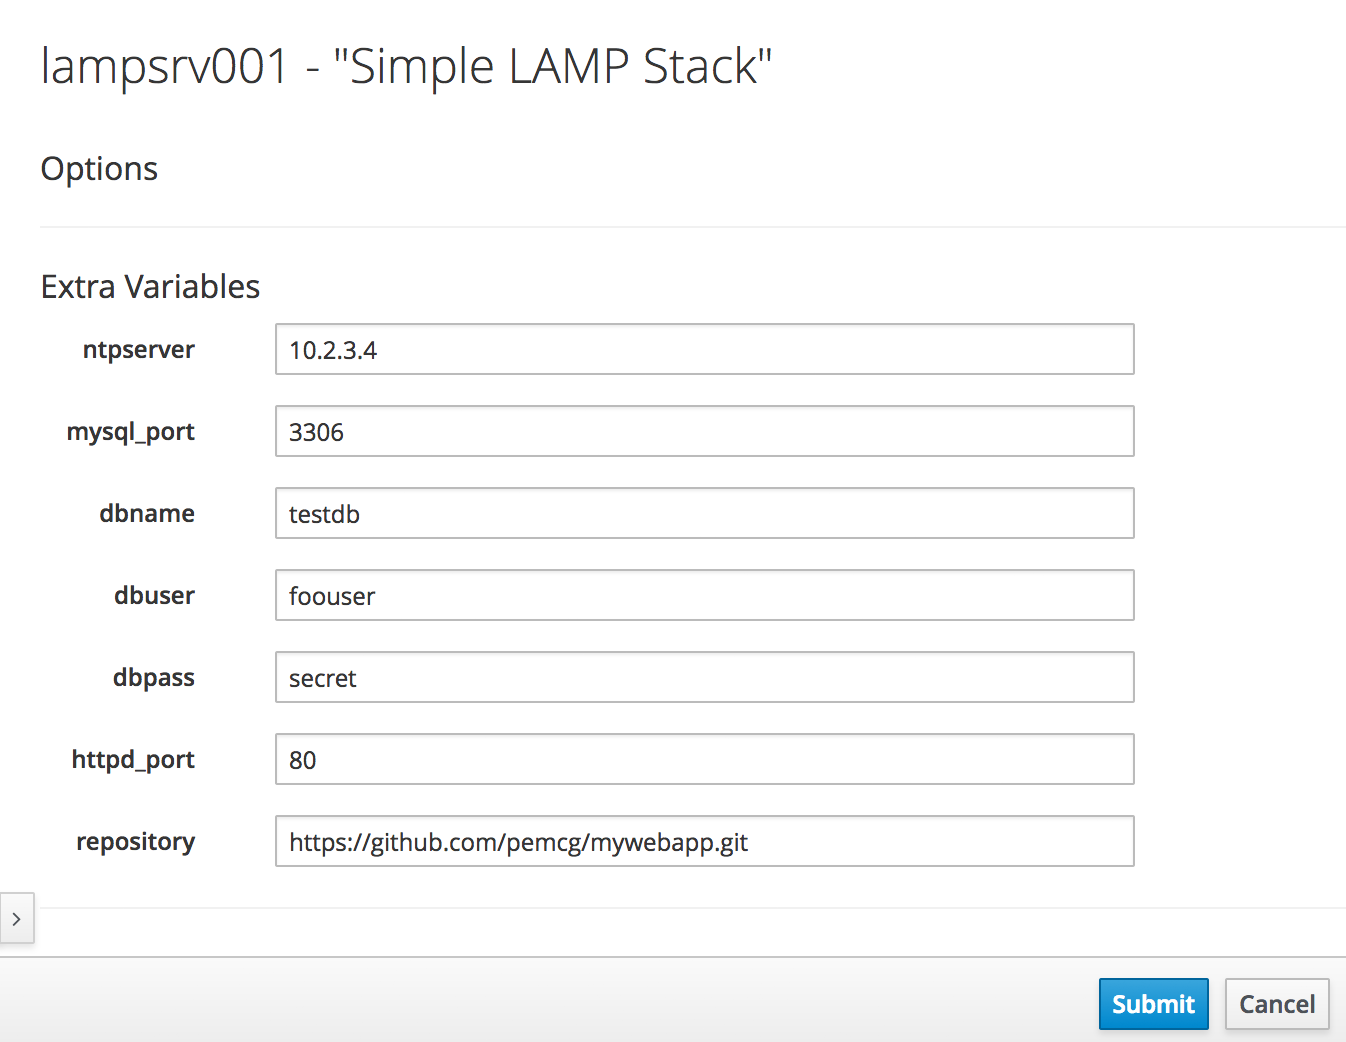
Figure 10. Ordering the button
If we go to the Tower server and look at the job details, we see the job running successfully:
Identity added: /tmp/ansible_tower_yd0ibD/credential (/tmp/ansible_tower_yd0ibD/credential)
Vault password:

PLAY [Setup the server with a simple LAMP stack] *******************************

TASK [setup] *******************************************************************
ok: [lampsrv001]

TASK [lamp_simple : Install ntp] ***********************************************
changed: [lampsrv001]

...


RUNNING HANDLER [lamp_simple : restart ntp] ************************************
changed: [lampsrv001]

RUNNING HANDLER [lamp_simple : restart mariadb] ********************************
changed: [lampsrv001]

PLAY RECAP *********************************************************************
lampsrv001                 : ok=21   changed=20   unreachable=0    failed=0
If we start a web browser and navigate to the URL of the CentOS 7 server, we see that our index.html and index.php files have been populated as expected. Success!
Summary
This chapter has shown how we can run an Ansible Tower job from a button in the CloudForms or ManageIQ WebUI. We are able to override any of default values for the job template extra variables from the service dialog that the button launches.
This close integration between Tower and CloudForms/ManageIQ gives us tremendous flexibility in being able to harness the power of Ansible from CloudForms or ManageIQ, and extends our Automate capability beyond running local Ruby methods.